Graber i3 Tutorial - Finished !
2017-01-30[ graber diy 3d printer ]
3D printing, also known as additive manufacturing (AM), refers to various processes used to synthesize a three-dimensional object.[1] In 3D printing, successive layers of material are formed under computer control to create an object.
These objects can be of almost any shape or geometry, and are produced from a 3D model or other electronic data source. A 3D printer is a type of industrial robot.
After this Wikipedia preview we can start work !
- Files for the laser cut - graber_lasercut
- Bill of Materials
- Where and what buy:
- RAMPS (electronic, China) - Big screen - Small screen
- A4988 (electronic, China, some of drivers can screw up) - Here
- Hotend (extruder, China) - Here
- MK8 (extruder, China) - Here
- Cooler (extruder, China) - Here
- HeatBed (extruder, China) - Here
- Gear and Belt (to X and Y axis, China) - Here
- Endstop (X,Y and Z axis, China. Not tested yet !) - Here
Ok, the total price is:
| What | How much | $ |
| RAMPS | 1 | 28.5 |
| A4988 (optional) | 1 | 5.82 |
| Hotend | 1 | 4.68 |
| Cooler | 2 | 0.88 |
| Mk8 | 1 | 0.82 |
| Heatbed | 1 | 8.1 |
| Gear and Belt | 1 | 5 |
| Endstop | 3 to 6 | 0.37 |
| Total | 54.17 |
- Ok, now in Brazil:
Total price:
| What | How much | R$ |
| MDF 6mm (810 x 460mm) | 1 | 25 |
| Glass | 1 | 10 |
| Smooth roads | 6 | 110 |
| Motors (Nema) | 5 | 190 |
| 12V 20A | 1 | 50 |
| Total | 385 |
The total of everything is R$ 601 (Reais) or $ 151 (Dolar).
Software
We need 3 kinds of software (ITS FREE):
- The Slicer
- Converts the model into a series of thin layers and produces a G-code file containing instructions tailored to a specific type of 3D printer. This G-code file can then be printed with 3D printing client software (which loads the G-code, and uses it to instruct the 3D printer during the 3D printing process).
- The graphical interface - Pronterface - Repetier
- Interface to communicate and use the 3D printer.
- Firmware for RAMPS - All of them (I am using Marlin)
- Software to burn the Arduino Mega.
Where am I ?
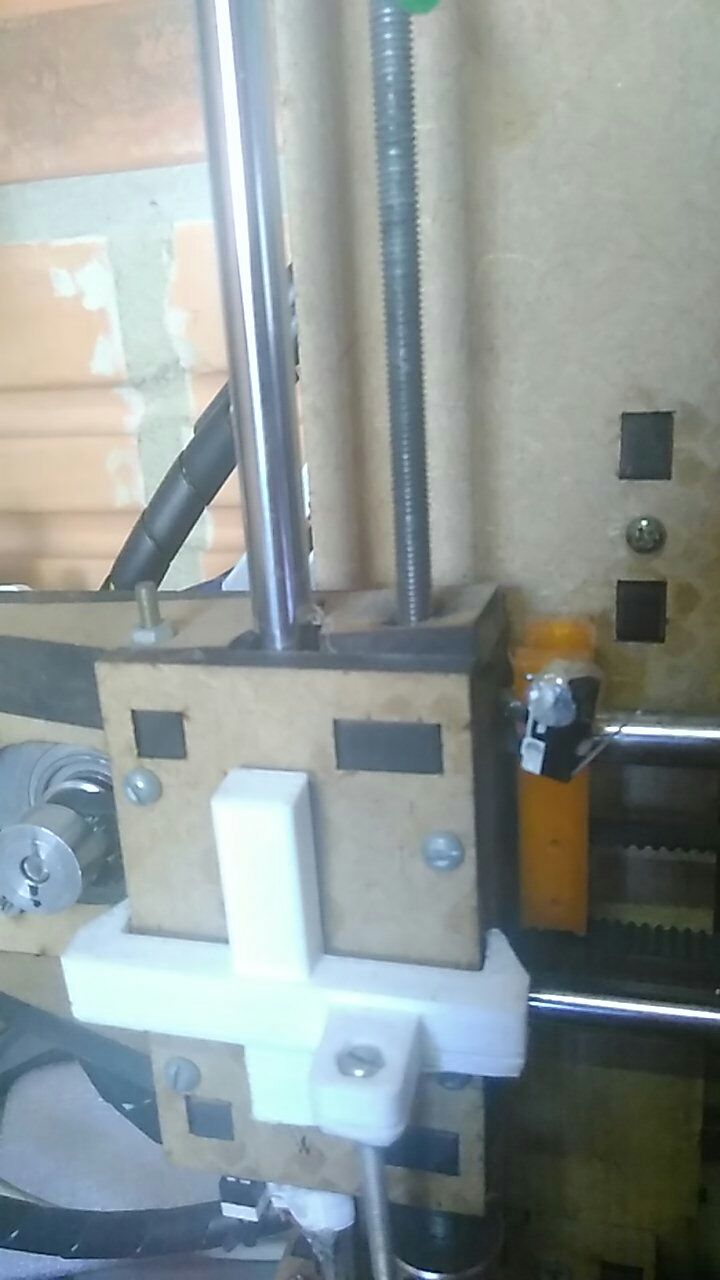
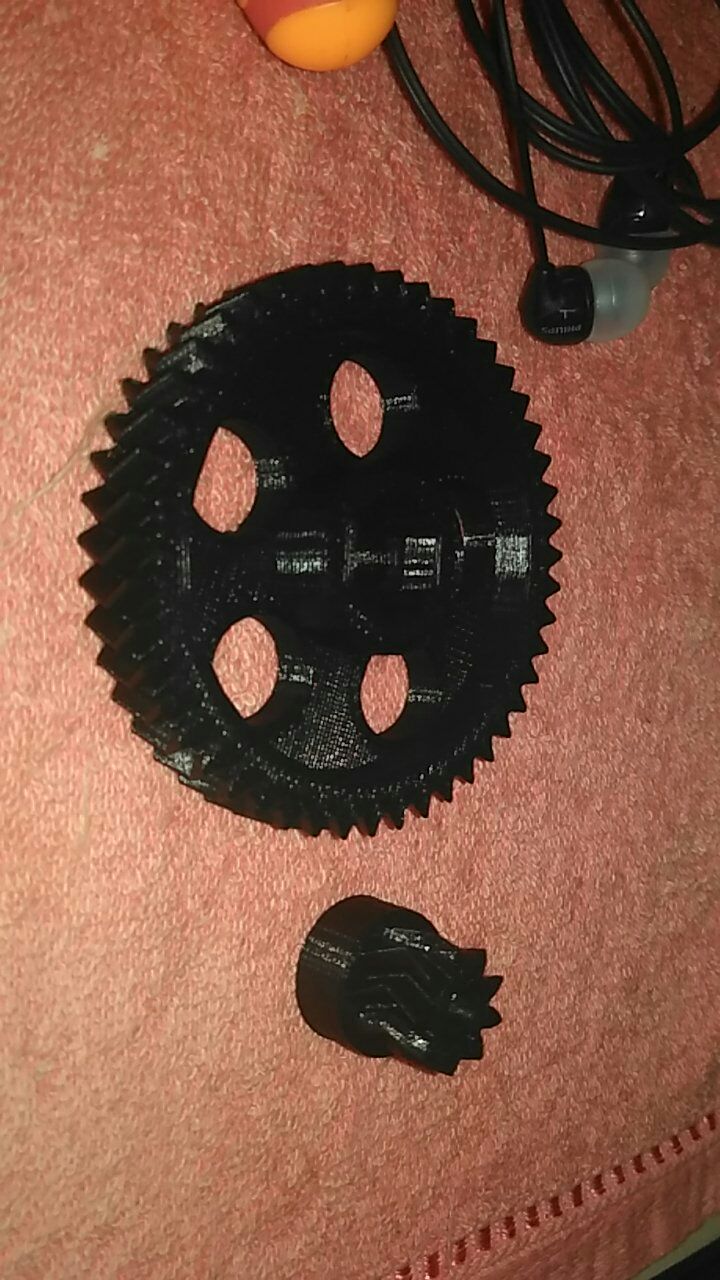
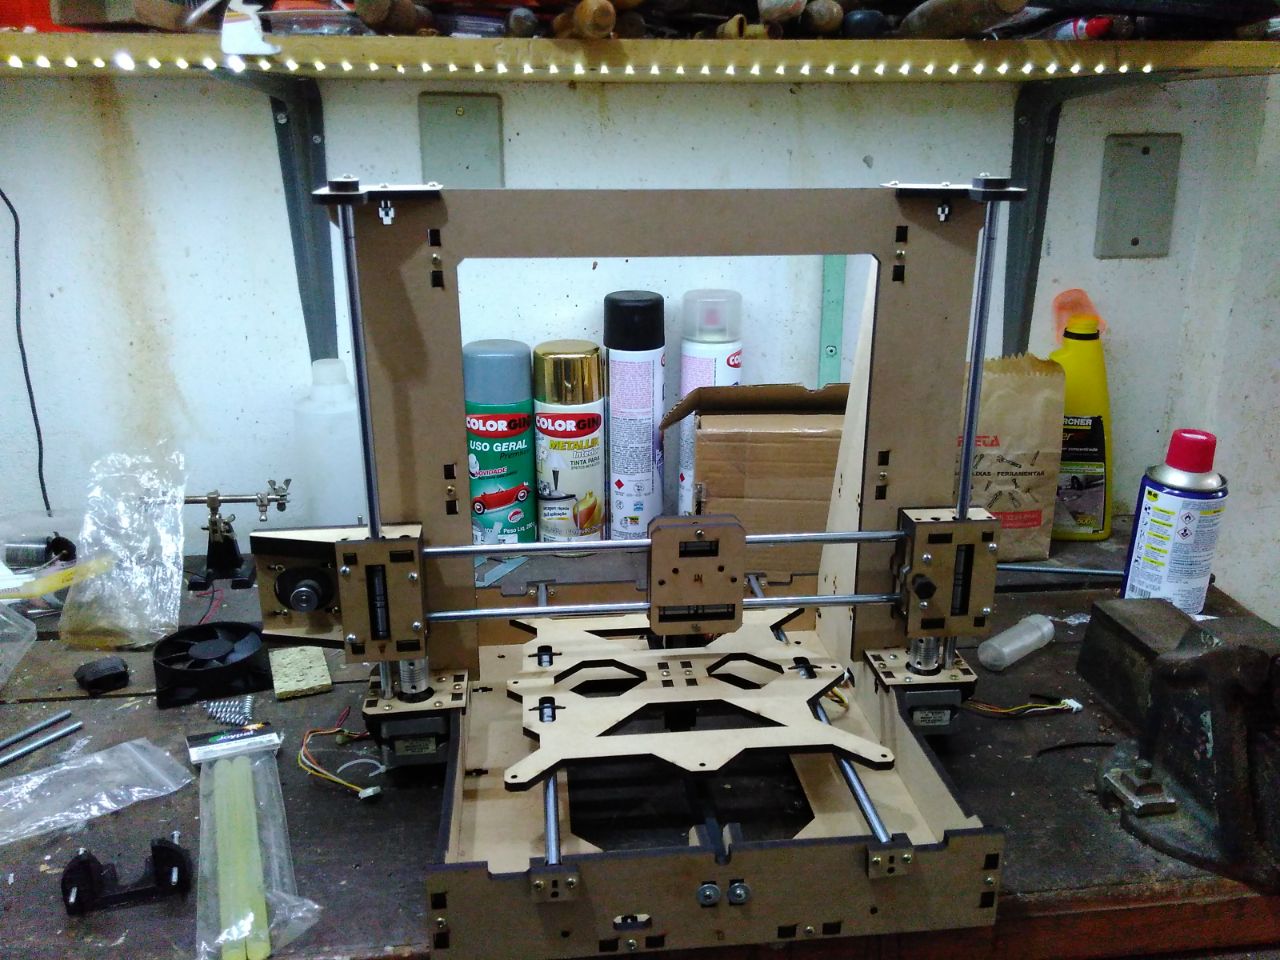
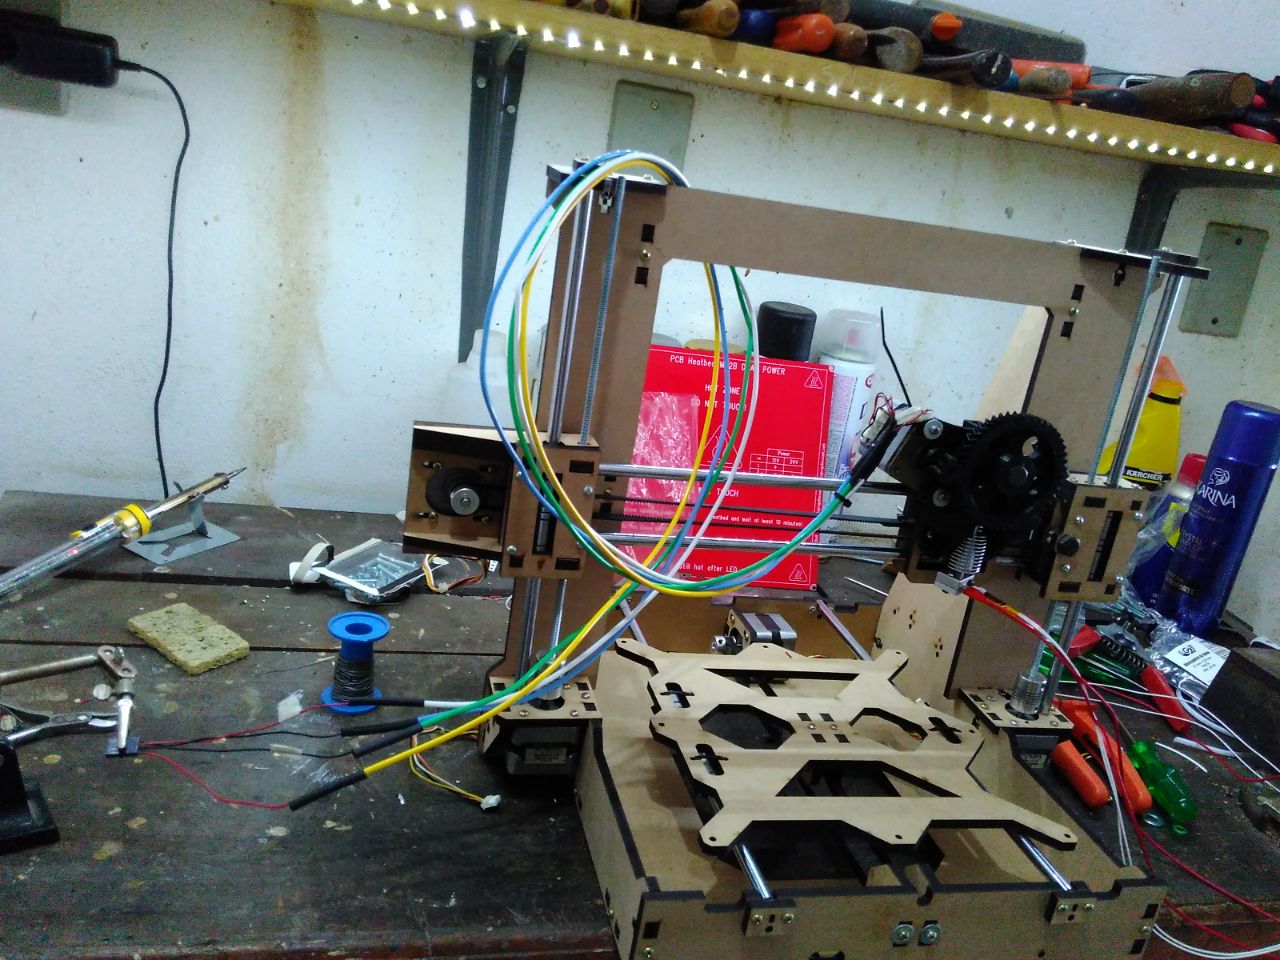
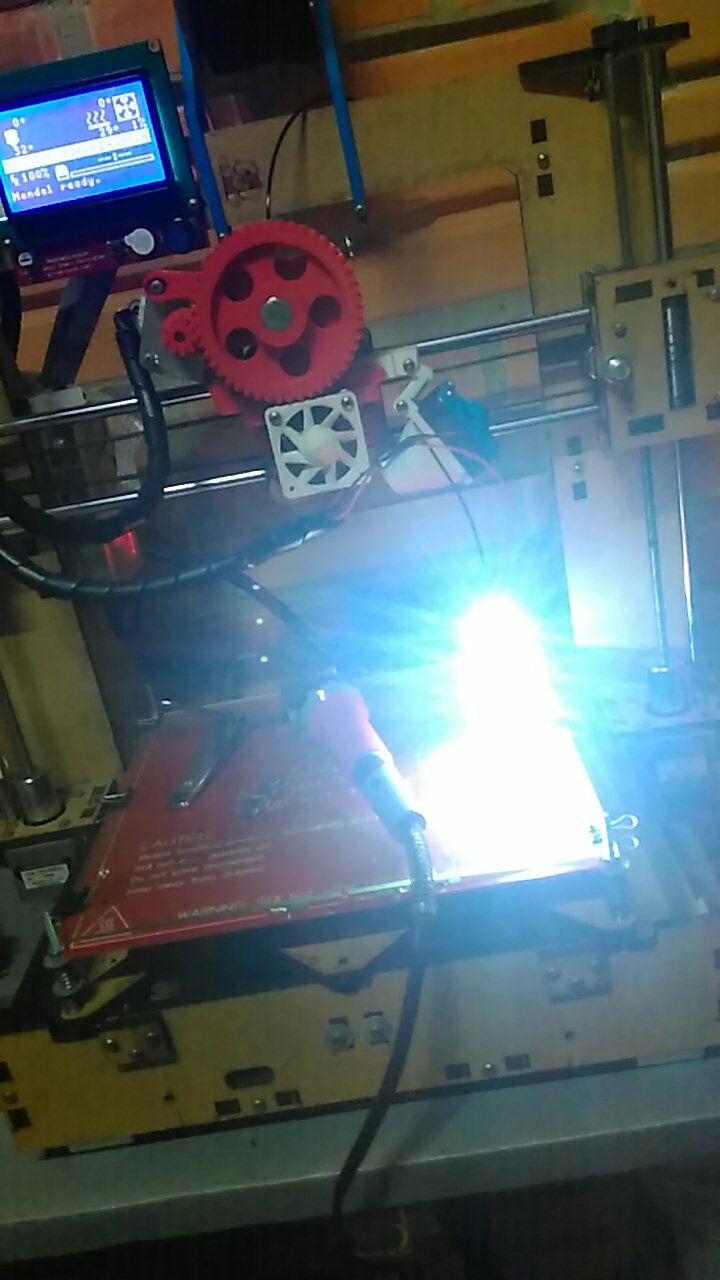
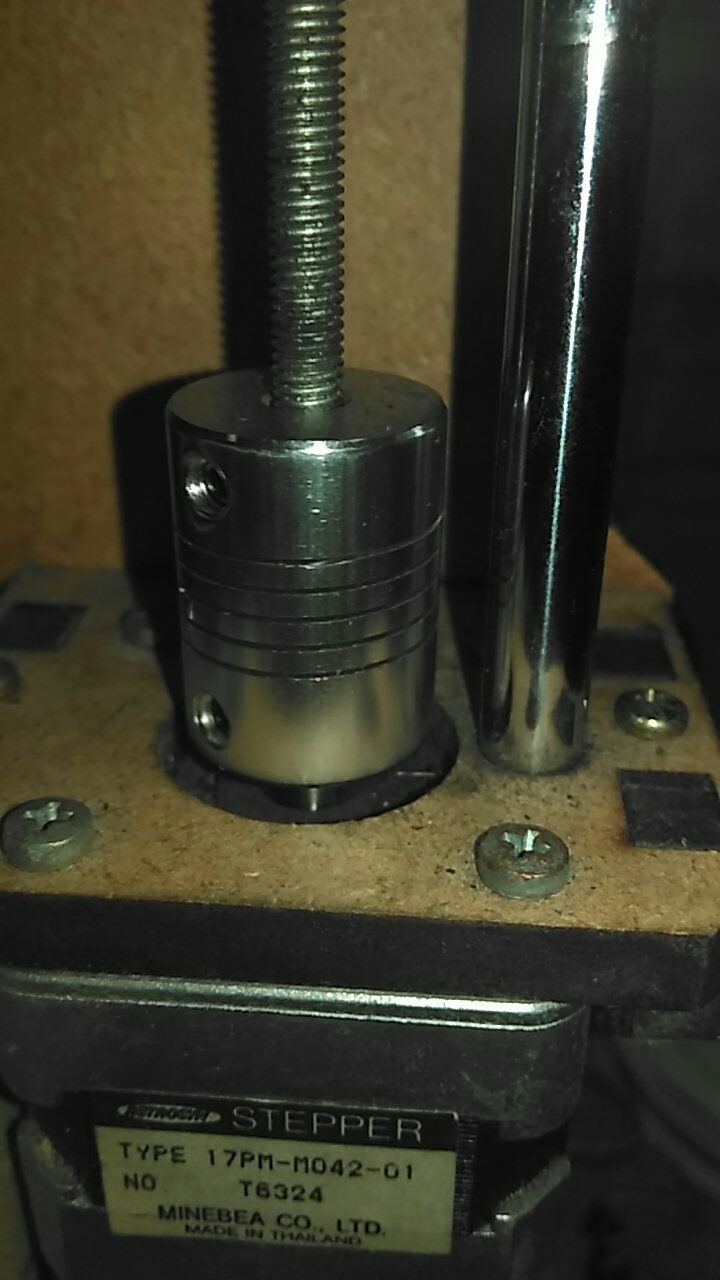
Now I am making some moving testes of the axis, speed and acceleration. Until now everything is ok, just need to finish the extruder and start to print !
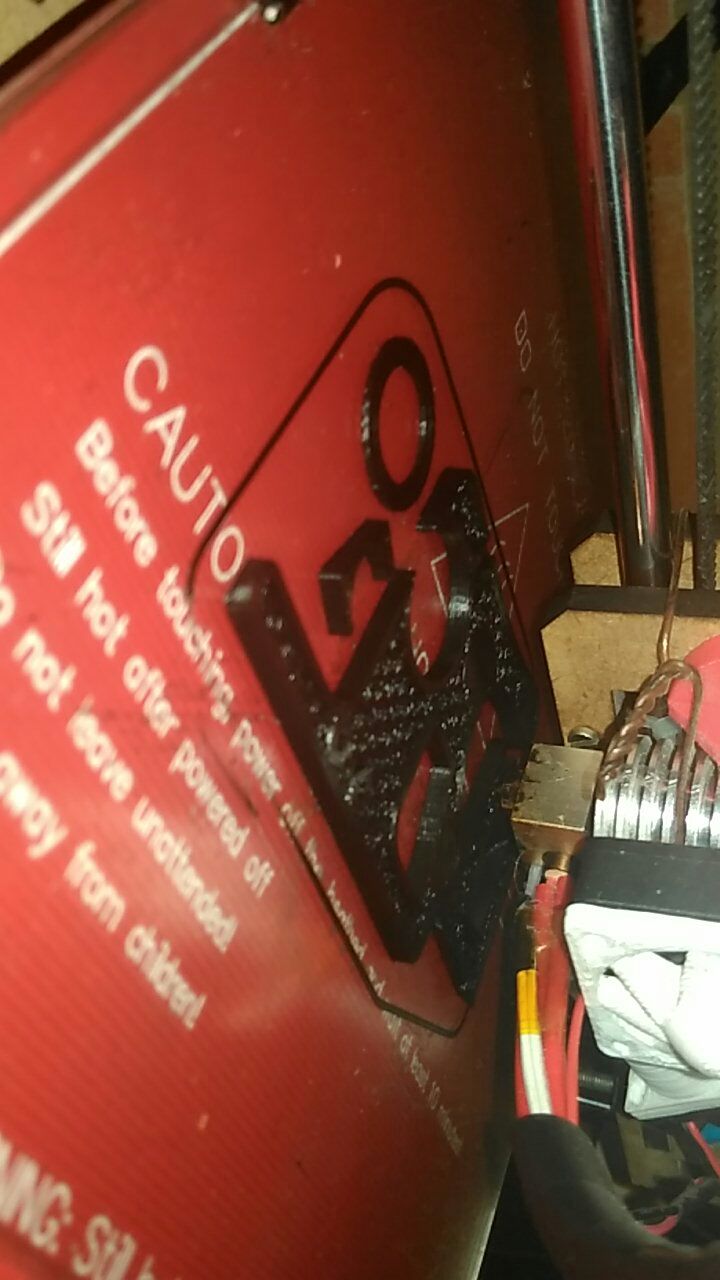
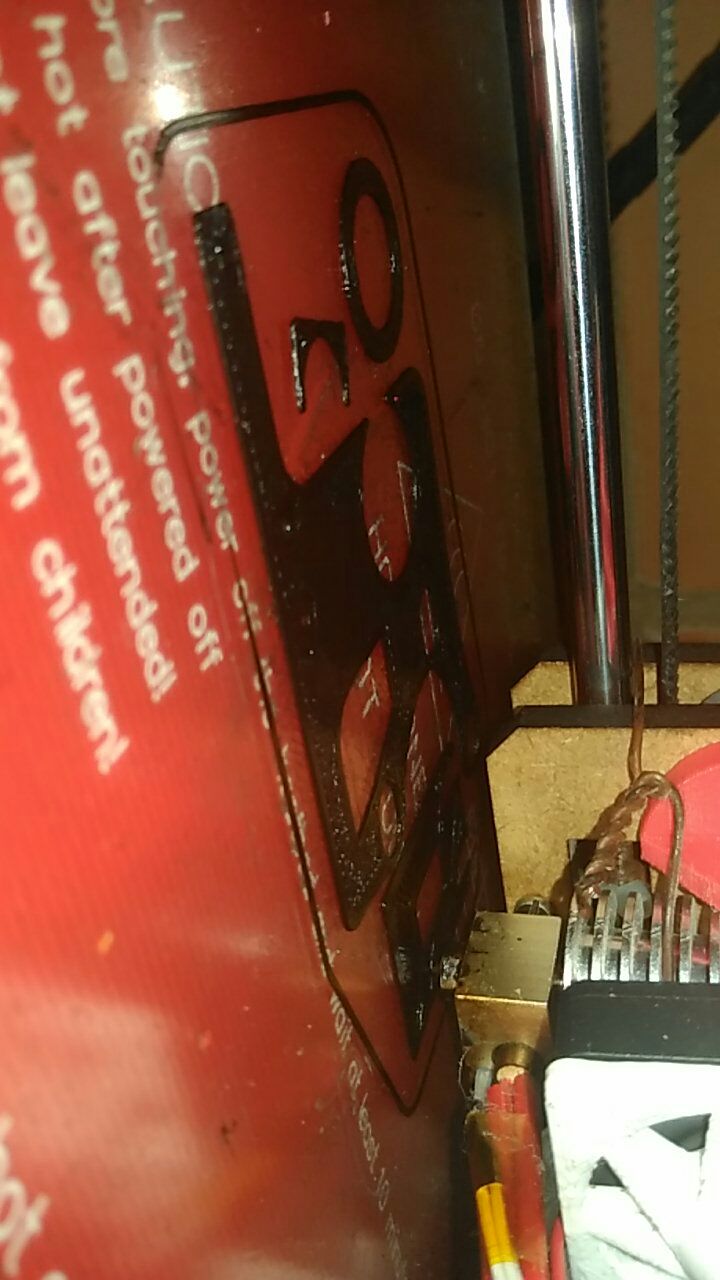
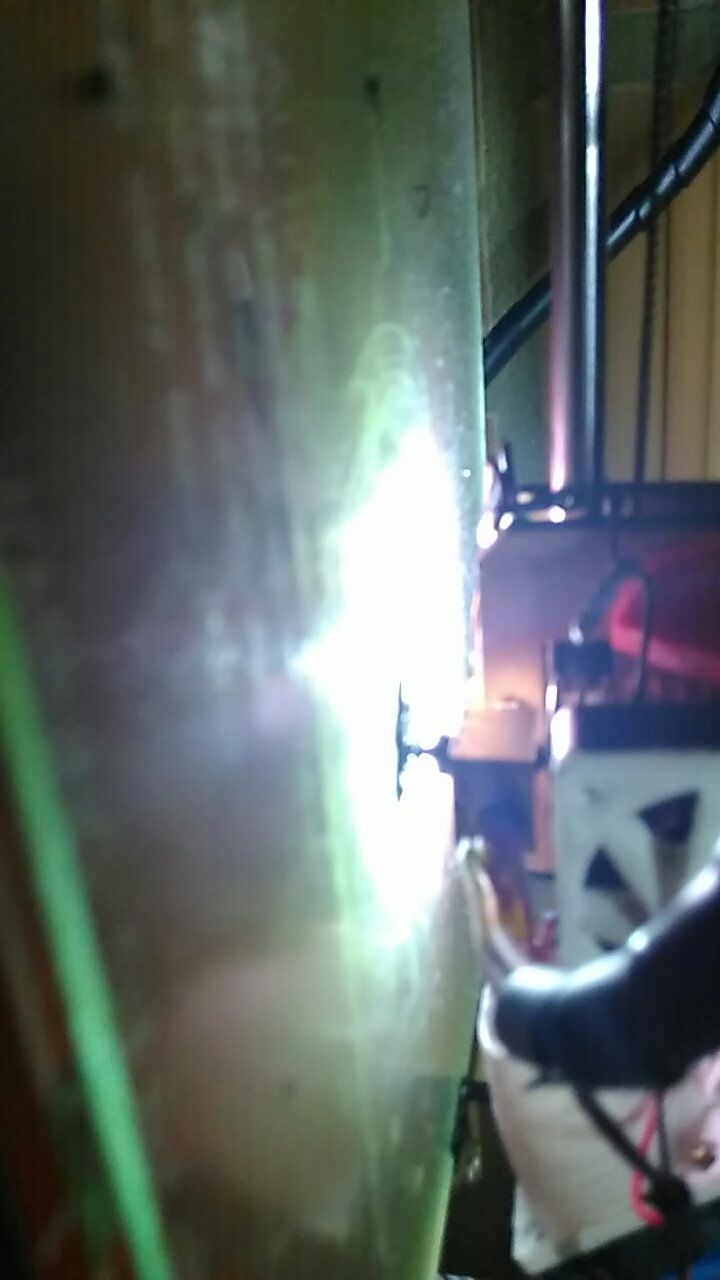
It's working !
After some time in Campinas-SP (Brazil) doing my internship on Intel, doing some cool stuffs, I am back to my city and my 3d printer .
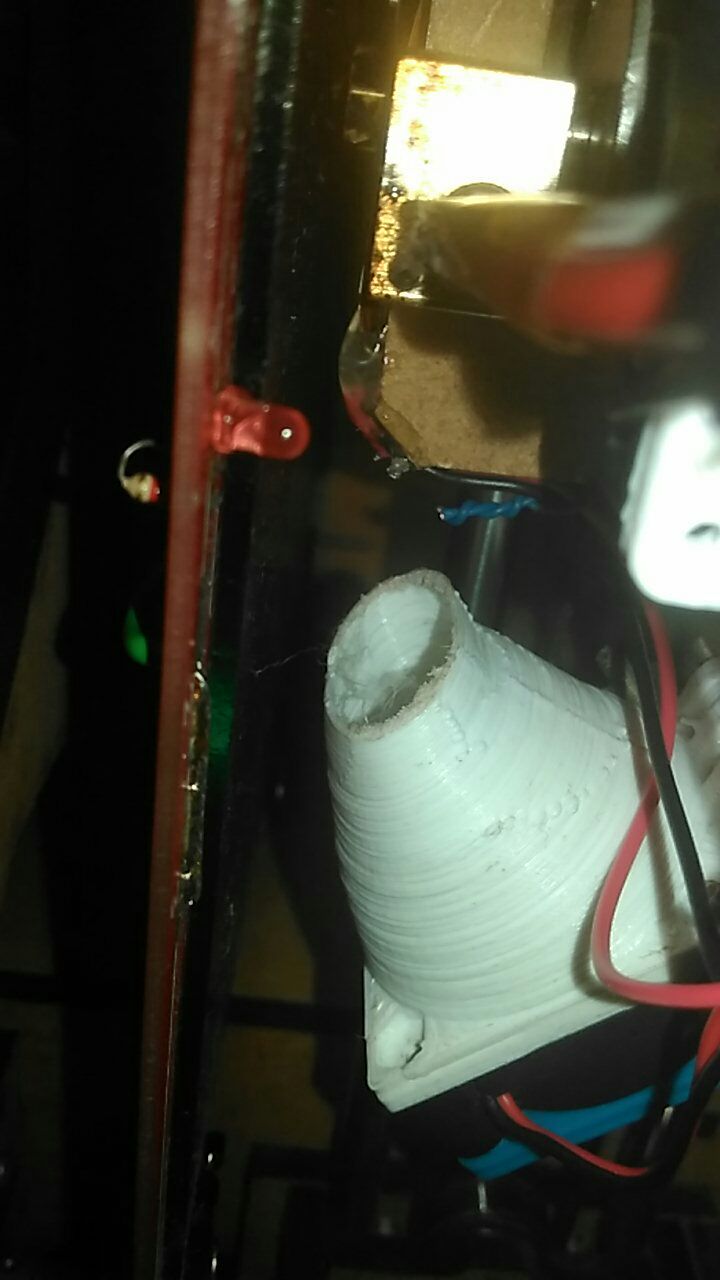
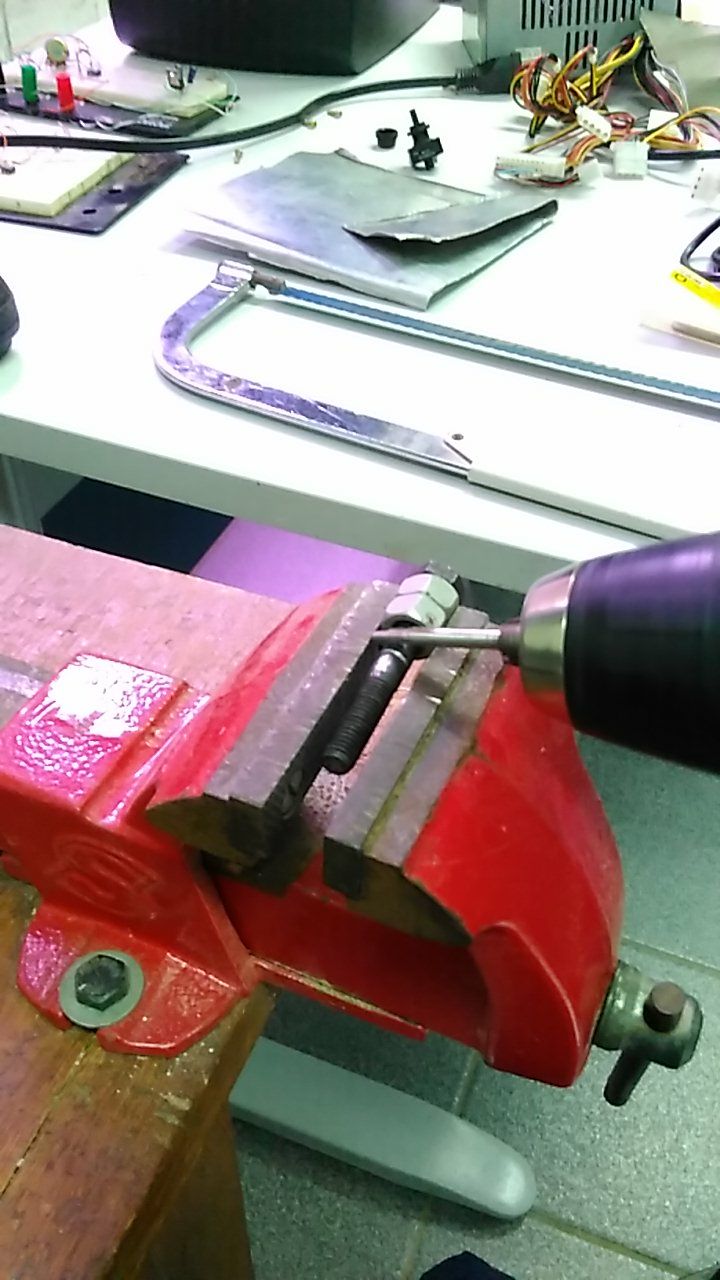
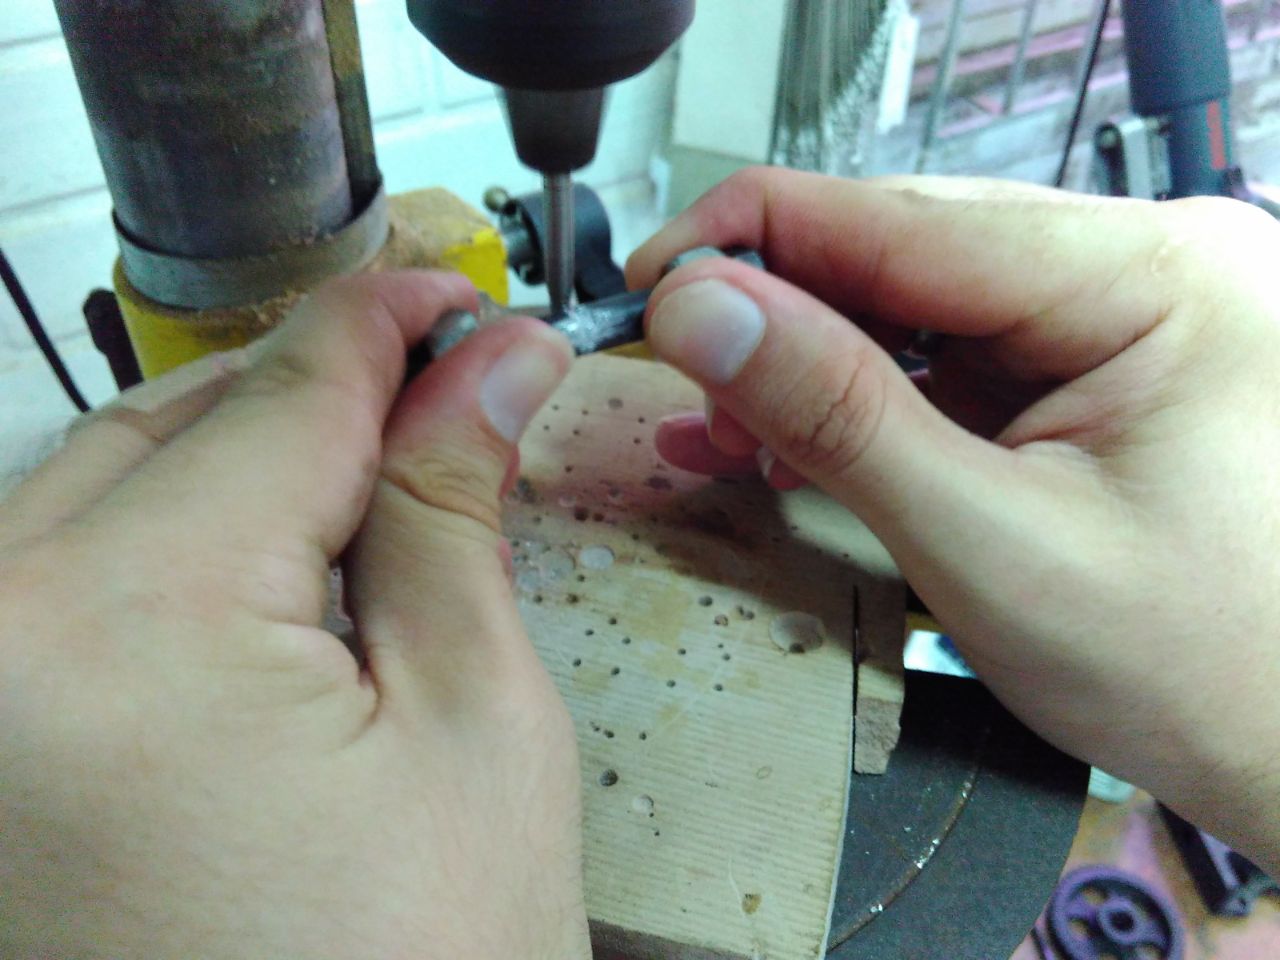
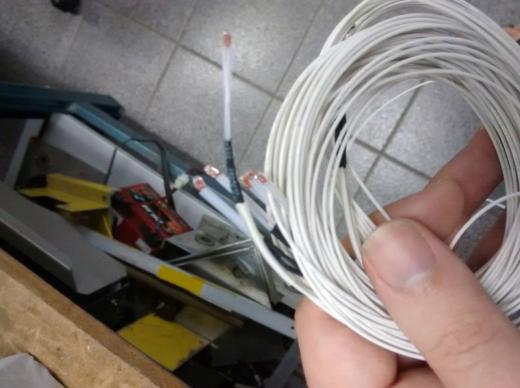
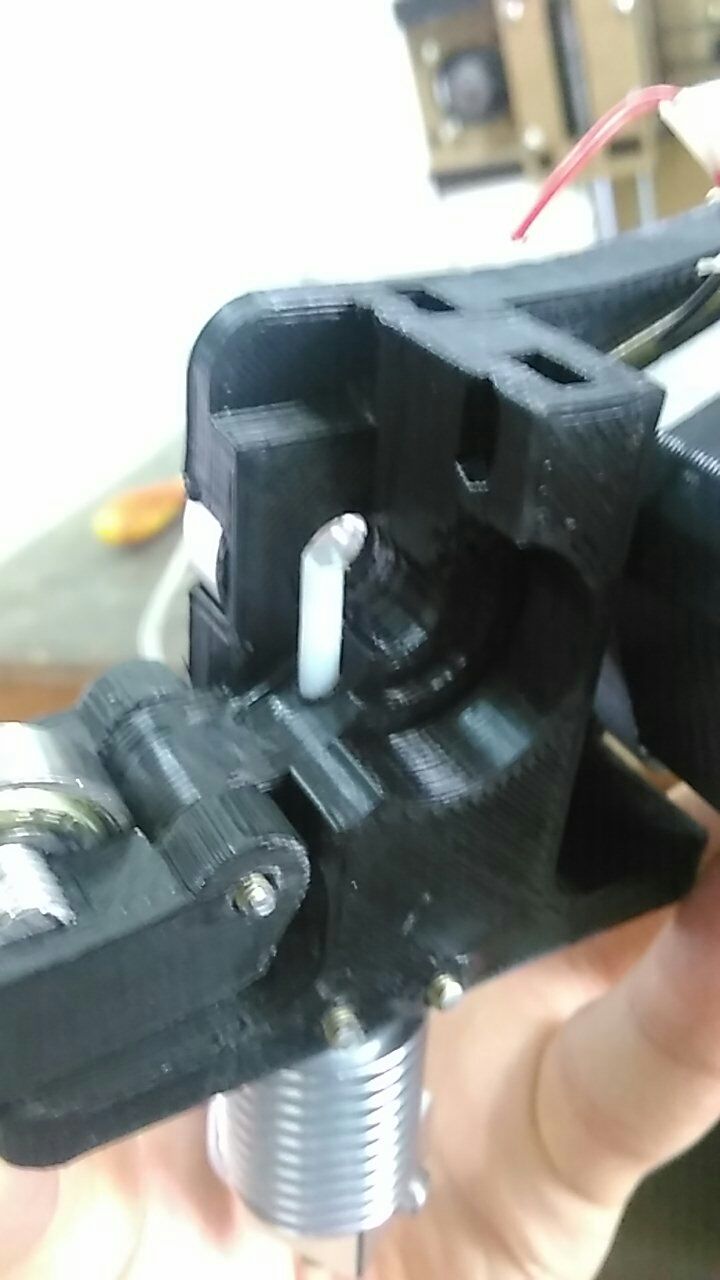
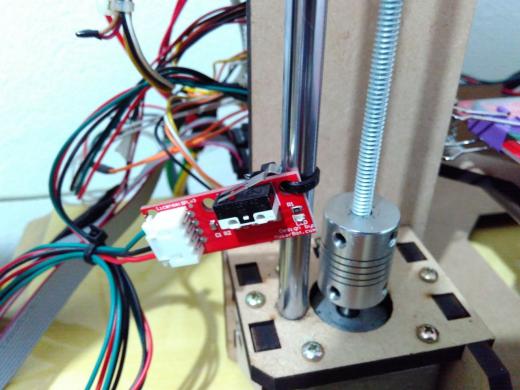
Willian (The guy with the cool blog in the top header) was working with his own 3d printer and have done a extruder to me (You can see the photos below). After one day wiring the things and some tests, the printer is alive !
To make your printer a cool IoT device, add a respberry with Arch linus, wi-fi adapter and Octoprint to print and view the progress in your browser in computer or cellphone.
Update [03/2020]
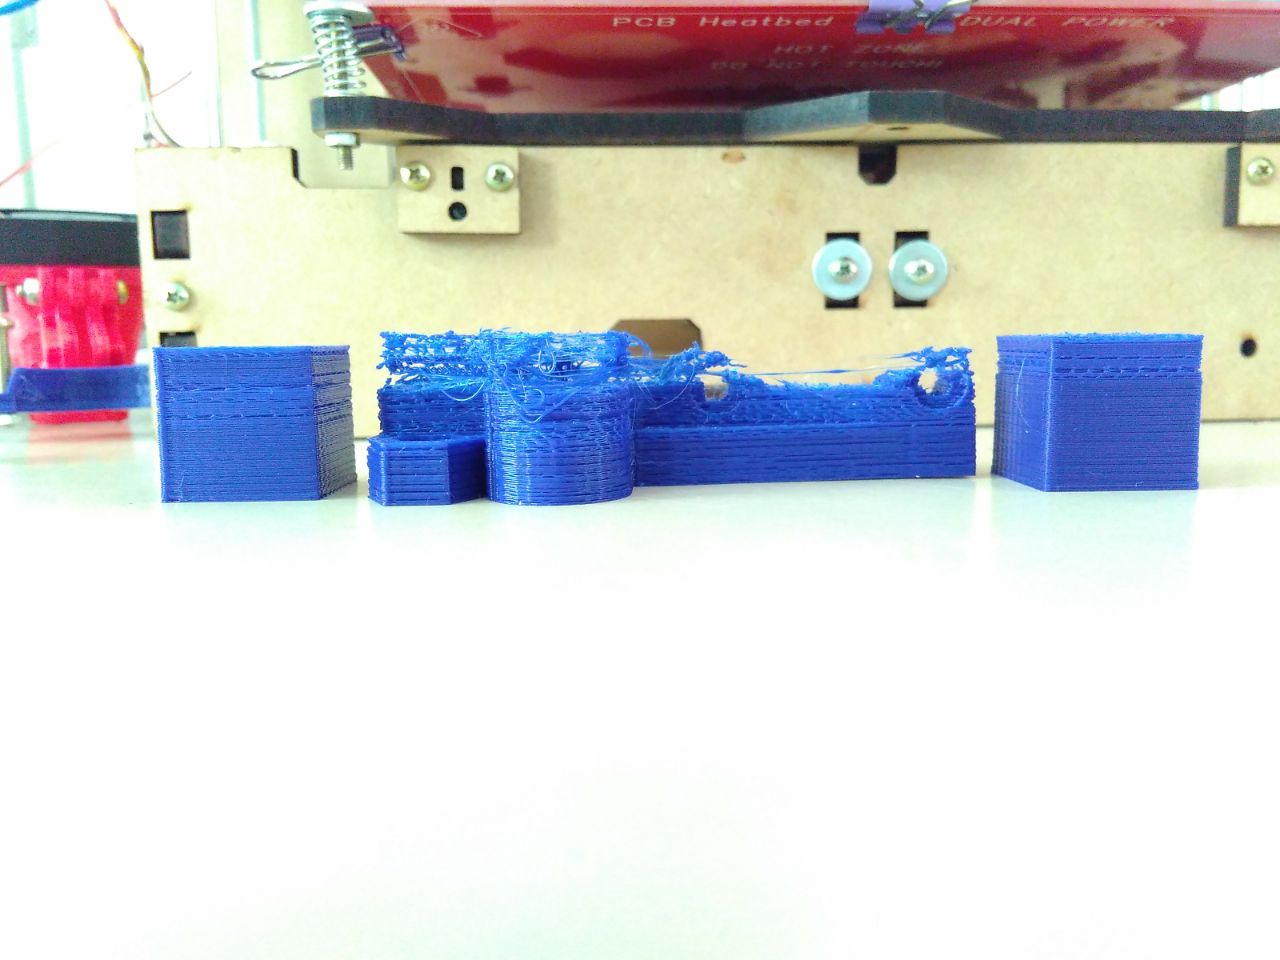
I lost a bunch of photos from my old printer in my old server, here you can check a bunch of photos that I got from some friends from my printer.